Make a Bowl and Chopsticks in adobe illustrator
Today's tutorial I will be showing you how to make a bowl and some chop sticks.

1. Background
To make the background use either a square or rectangle, Make it as big as your work page. Everyone uses a different size so make your square or rectangle as big as your work page.
Here's what I'm referring to when I say work page.

Now select your square or rectangle its going to be your background so select your background
Then go to to the gradients menu. You can drag it out like I usually do. Then while keeping the gradient menu open, open the swatches menu on the right panel. It looks like a bunch of squares that make a rectangle.
Then on the swatches menu click on those two little folders at the bottom left.
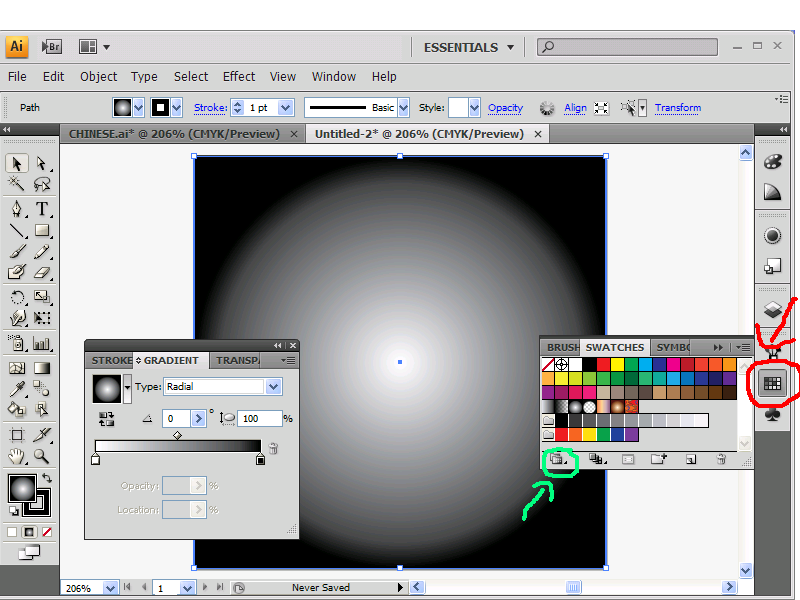
After click on the folders there should be a menu with a list of things to choose from that shows up, go to nature and then beach
their should now be a menu that shows up and have lots of colors for you to choose from
on the menu where you see a bunch of brown colors next to each other, you will see a folder next to it click on that folder(see pic)
it will now add the folder to the swatches panel(making it easier to use those colors)
Now below the brown colors there should be a bunch of yellow colors, next to the yellow colors there should be a folder, click on that folder

the yellow and brown colors should show up on your swatches panel so click out of the beach menu

Look at the bunch of brown colors, click and hold the 2nd brown color(starting from left) drag it and drop it on the black arrow

do the same for the 4th brown color(star counting from left to right), but drag and drop it on the white arrow

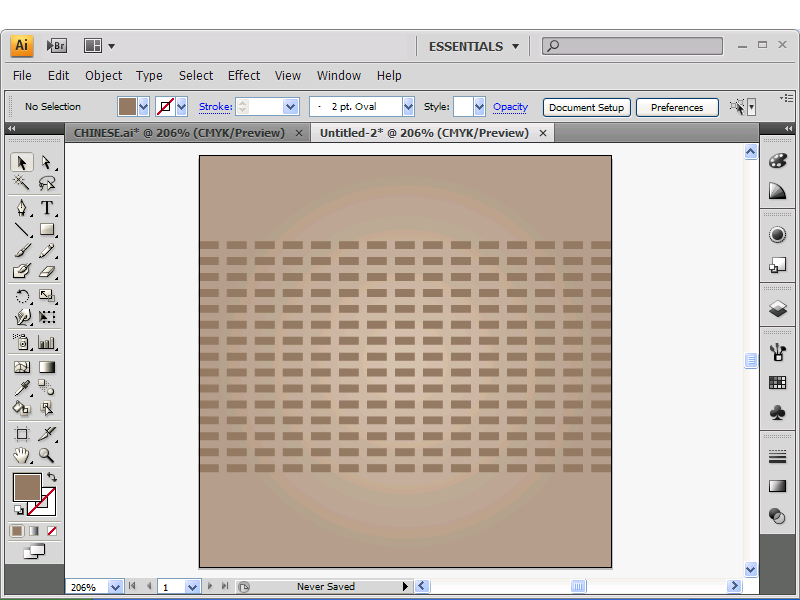
2. Square design
draw a square in the middle of the background
set its stroke to none, but give it a dark brown fill( use the 1st dark brown you see where the bunch of brown colors from before are located at,

select the brown square we just made and go to object, and rasterize

there should be a menu that comes up like this just press ok, nothing will change

still select the square, go to objects, create object mesh.

a menu should show up like the below picture, make only the CIRCLED VALUES the same as mine.

Your square should change and become like this
3. Bowl
draw a circle , don't worry about the fill yet
select the circle and go to the direct selection tool on the left tools panel, it looks like a gray arrow
click on the top of the circle like this

then move the top part that you just clicked on down, it should look like this now

Now where going to give it a gradient
Select it, then open the gradients menu and the swatches menu, where going to drag and place a dark brown on the black arrow of the gradient menu. #726658(its highlighted in red on the below pic)
Now select the brown that next to it to the left(its highlighted in blue in the below pic), drag on drop it on the white arrow
It should look like this now

Now make a oval and place it on top of the previous circle we made like this.
Give it a light brown shade, select the oval and double click on the fill at the bottom left and type in
#E5D3BD for the fill color
now copy the oval and make one smaller then it, place it on top of the oval and in the front like this
select the smaller oval and give it a fill of color #F1E8BB
it should look like this now

4. Chopsticks
start of by making a vertical line using the ellipse tool like the below photo
it doesnt matter what the fill is where going to change it anyways

now select it and open the gradients menu, and select the brown highlighted in red in the below pic and drag and drop it onto the black arrow
now select the light brown(highlighted in the below pic in blue) in the swatches menu and drag and drop it onto the white arrow
now select the chop stick rotate it look like the picture below

Select the chop stick and make a copy(CTRL + V)
select the copy and rotate it like the below photo

Now where going to make the plate under below it
draw an oval like the below photo
select the dark brown highlighted in blue and drag and drop it onto the white arrow
select the light brown highlighted in red and drag and drop it onto the black arrow
select the plate and double click on the stroke, at the bottom left and give it this stroke #B29C88
Move the arrows around to make it similar to mines

select the bowl(NOT THE PLATE) and the chopsticks and group them together
Left click and group
grouping makes it easier so just select the group and right click, arrange, bring to front
now move the plate below it like the photo below, parts of the plate should disappear since the bowl is the one in front. #B29C88

The last part is just designing the bottom and the top part how ever you want
I just used a brush to make the waves and gave it a dark brown fill
Do it however you want its not important. Your design should look like this.
With or without the waves

10 comments:
thanks a lot for sharing....
Color Experts
Clipping Path
Wow! Great Illustrator bowl and chopsticks making. critical hair masking of model
You are maintains excellent working step which was easy to understand.
Clipping Path Center Inc
Buy Smart TV Now click here Best Price Android Smart TV Collection in Bangladesh M.K
Thank you for being a voice of reason and compassion in a world that sometimes feels cold and indifferent.
Visit Here: image manipulation service
nice tutorial!
https://www.clippingimages.com/
This tutorial is super detailed and easy to follow! I love how it breaks down each step for creating the bowl and chopsticks, especially the gradient and color choices. Perfect for anyone wanting to get creative with vector illustrations. The clear instructions make it accessible even for beginners. Great work!
best clipping path service company
Reading this gave me a fresh perspective I hadn’t considered before.
Visit Here: Ghost Mannequin Service
Such a creative and detailed tutorial on making a bowl and chopsticks in Adobe! For those who love precision in design, Clipping Path Center offers top-notch image editing services!
Post a Comment