Make wine glass in adobe illustrator

Today im going to show you how to make a wine glass like this


1. Make glass

You have 2 options, you can either draw this shape using the brush tool or you can start off with a cirlce and play with the shape using the direct selection tool(the gray arrow)

after you have made the shape using any of the options that I told you, we are going to give it a fill

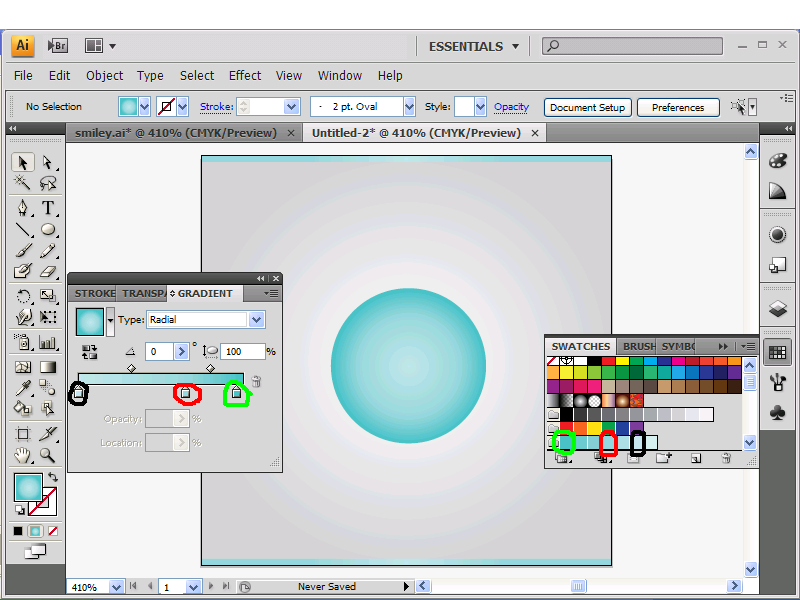
select the glass then go to the swatches panel, then click on those 2 folders at the bottom, then gradients, then metals


now there should be a menu the pop up like in the picture below, click on the highlighted color(circled in blue in the below pic)


now open the gradients menu on the right panel while selecting the glass, then click on the arrow thats in the middle and delete it


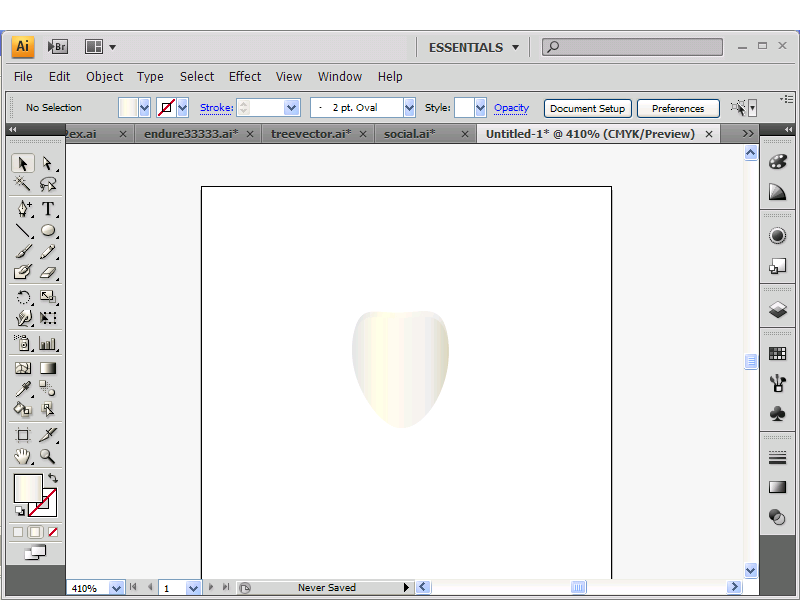
it should now look like this


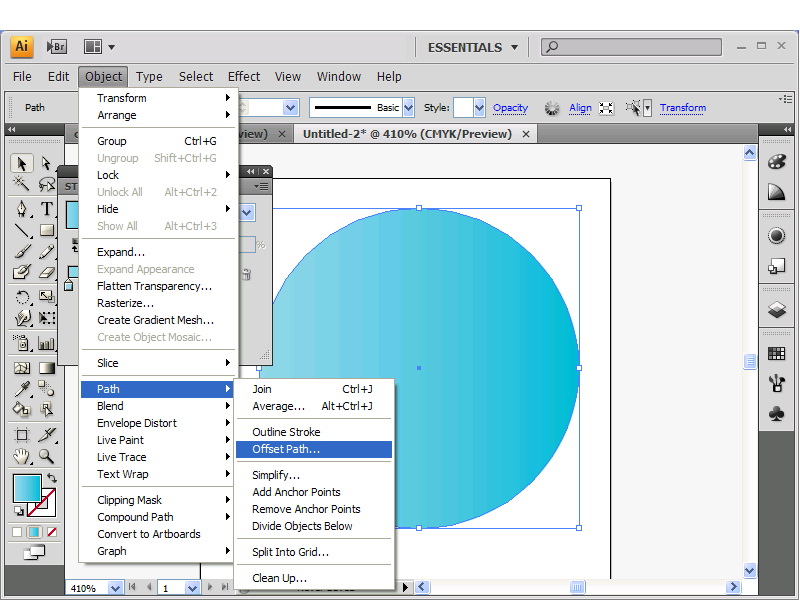
and select the glass and type in -12, to change how the linear gradient looks

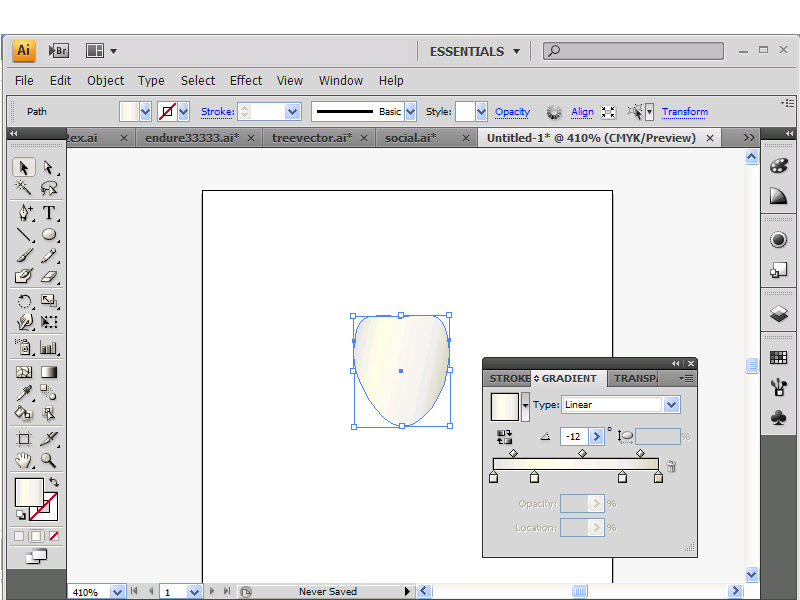
now make a copy of the glass and change the copy to linear number to 0


and place the copy below the original and it should look like this now and make sure the copy is the one in front

2. Bottom part of the glass

now select the round rectangle tool on the left menu, draw the bottom part of the glass using the round rectangle tool, give it a fill just like the glass using the eyedropper tool


now draw the other bottom part of the glass using the ellipse tool, give it a fill just like the glass using the eyedropper tool


and place it just like in the below pic and send it to the back
3. Make wine

now select the ellipse tool, draw a circle and use the direct selection tool to the delete the top half of the circle, just click on the top and hit delete key
make the shape the size of your glass


now select the shape and give it a radial gradient, going from dark red to black just select the colors on the swatches panel and drag and drop them into each arrow

make your gradient similar to mines


now copy the wine and make the copy smaller and change the copy gradient a little different
place the copy in front and remember to make it a little smaller or at least shorter


Now your all done


Make 3d smiley face in adobe illustrator

Today's tutorial is making a 3d smiley face in adobe illustrator


1. Circle

create a simple circle like in the pic and give it a radial gradient on the swatches panel

now open the gradient menu like in the pic below along with the swatches panel


2. Gradient colors

go to the swatches library(the 2 little folders on the swatches panel at the bottom) see pic

now click on the swatches library, go to nature, then beach

there should be a bunch of colors to choose from that shows up on a new menu
your gonna see a folder next to each group of colors, the group that is circled in red in the below pic, click on the folder next to it

close out of the beach menu, the group a blue colors should now be added to the swatches panel like below circled in green


now your going to make your gradient for the circle look like mines. The color that is highlighted is for the arrow that is highlighted with the same color.


3. make the eyes

start of with 2 eyes using the ellipse tool to draw it. Give the eyes a fill of light blue. I used the lightest blue thats from the group of colors we used earlier.


now select those to circles and make a duplicate of each. Place each copy like in the pic below.

select the 2 copies and give them a radial gradient going from dark grey(circled in red below) to black


now make another copy and make it a little smaller, give it a white fill, and place it in the eye like the below pic


4. Mouth

Make a circle and click on the top portion of the circle with the direct selection tool(dont worry about the fill of the circle yet).


now click on the top portion of it and delete it, it should like a half circle(below pic)
and place the mouth where it should be

select the mouth and give it a radial gradient going from light blue to medium blue using the colors from the group of blue colors(see pic)


now select the mouth, copy and paste it and give the copy a black fill

place the copy in the same position as in the below pic(in front the gradient colored mouth)

5. Cheeks

now to make the cheeks you can either draw it with a brush or just make a circle like i did, give it no fill, give it a black stoke, use direct selection tool to delete portions of it, and rotate it in the proper position matching the below pic

6. Teeth

just make a copy of the mouth , give the copy a white stroke, and make the copy a little smaller like in the pic

and place one set of teeth at the top and another set at the bottom

now just draw a line and give it a light gray stroke, to separate each teeth and make it seem realer like in the pic below


7. Tongue

make a copy of the mouth and give it a 3 radial gradient going from red, to dark red, and back to the same red

your done now your smiley should look like this


Make a blue clock in adobe illustrator

Today Im going to show you how to make a clock like this in adobe illustrator.


1. Circle

Start off with a circle like this


Go to the swatches panel on the right, click on those two little folders, then nature, then beach


Now there should be a bunch of colors that show up on a menu, each color row has a folder in front, click on the folder next to the blue colors(circled in the photo)


when you clicked on the folder the blue colors should be available at the swatches menu on the right tools panel like below


Select the circle, give it no stroke(square with red line located at the bottom left)

click to give it a linear gradient going from medium blue to dark blue The colors that I used are circled in the photo below

the one circled in black is dark blue, it goes to the black arrow on the gradient
the one circled in red is medium blue, it goes to the right arrow on the gradient

2. Second Circle

Select the circle go to object, path, offset path

now a menu should come up like the below photo

im not sure what size document your using in illustrator me, im using 100x100 so this step may vary from person to person

so your going to have to play around in the negatives numbers, I changed the offset to -2

click okay and you should have a second circle like that above

now were going to change the gradient of the second circle
GIVE IT A RADIAL GRADIENT

give it a gradient of 6 colors like i did, I circled the colors you should use

First is white
Second is medium blue, its circled in red
Third is white
Forth is dark blue circled in black
Fifth is medium blue, its circled in red
Sixth is light blue its circled in green


3. Third circle

While selecting the second circle go to object, path, offset path

When the menu comes up, change the offset to -6


give the 3rd circle a linear gradient from white to light blue(I circled the light blue to use in red)


4. Forth circle

go to object, path, offset path

were going to make a forth circle give it a -2 offset

give it a linear gradient going from light blue(circled in red below) to dark blue(circled in black below)

5. Fifth Circle

Select the forth circle go to object, path, offset path

give it a radial gradient, going from light blue(circled in red) to lighter blue(circled in black)


6. Round rectangle

were now going to make a round rectangle

start off with a normal rectanlge and give it a dark blue fill, then go to effect, stylize, round corners

it should look like the one below

now make a copy of it at the bottom like this


then select them both at the same time(click on one, then hold shift key, then click on other)

then right click and group

now select the group and go to effect, distort&transform, and transform

then a menu like this should show up give it 5 copies and 30 angle


click okay and it should look like this


now add the numbers using the type tool and using whatever font and color you want(i used dark blue color)

and now draw the dials any way you want


now draw a circle like I did and give it a gradient going from light blue, medium blue, dark blue
and right click, arrange, send to back


now make a copy of that circle and put it in the other position


now draw 2 round rectangles , give them the same gradient as those 2 little circle we placed at the bottom(u can use the eyedropper tool to do the) ,rotate them in the proper position like this